A beautiful, thriving garden is a common dream, but it is one that can be more tricky to accomplish than expected. It is not unlikely for a first time gardener to have little success. It takes time to build the ideal flowerbed or garden. With helpful tips and practice anyone can become a green-thumbed veteran.
There are specific steps a prospective gardner can take, but there are a lot of hidden pitfalls which could deter the process. A garden will thrive if you are knowledgeable about the conditions each plant needs to survive and common situations to be wary of.
Step 1: Research Plant Information
Before selecting exactly what you are going to grow, it is important to consider the difference between plants and their needs. Some plants may not be suitable for the environment you’re planning to grow them in and this will surely not end in success.
Environmental adaptability varies between all plants. Thusly, they will take different levels of care and attention to thrive. Make sure you have the time and ability to provide the attention what you are growing needs; different plants will call for varying approaches to seed spacing, sunlight intake, and other important specific characteristics.
Tip: Plant nurseries are specifically for consumers interested in cultivating plants. It is the best location to find a knowledgeable employee that can answer your budding questions.
Step 2: Appropriate Spacing
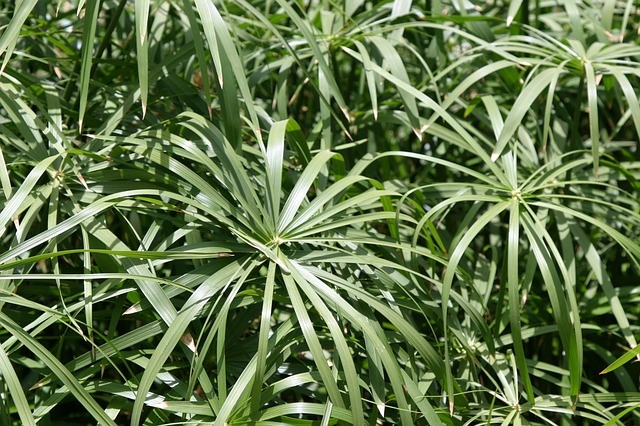
Figuring out the most fitting location to build your garden relies on the particular plants you want to grow. Some plants can only thrive directly in the soil or large beds. For example, you cannot grow pumpkins in a window box.
When growing outdoor plants, sunlight levels are important for different species. Be sure your plants will be receiving the appropriate amount of light or shade according to its information. Also, know how much rain your region receives because many plants need different quantities of water. If it doesn’t rain often in your region, you will have to provide for your garden attentively.
If you will be growing inside, it is best to simulate their native environment as closely as possible. Tropical plants do not fair well in dimly lit areas. Temperature is also important if certain plants do not have proper ventilation they could become dehydrated and die.
Step 3: Acquire the Necessary Supplies
Potting soil is an obvious necessity if you are growing plants in containers. If you growing directly in the ground, be sure to pick up bags of topsoil for mixing. Basic gardening supplies will be required like a shovel, a trowel, and even a rake. Having proper equipment will make the process more stress-free and enjoyable.
Supplies to successful gardening are aplenty, but one of the easiest ones overlooked is nutrients for growing your plants. This is important to potted plants but can aid your ground soil garden as well. Insecticides will also help, depending on which pest problems are encounter.
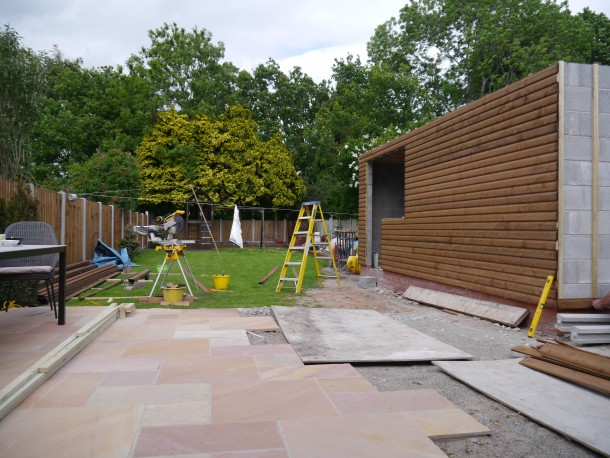
Step 4: Plan Out Your Plot
Upon researching, gardeners can understand that plants need to be certain distances from one another. Plan out what exact plants you will place where. This is to find out what you have room for. There are myths associated with certain vegetables that will hinder each other’s growth if planted near them
Tip: Use an actual measuring tape to gauge the exact space you’ll have for each plant species.
Step 5: Prepare Soil
If growing plants directly into the soil, it is important to thoroughly examine the area and begin clearing any debris or weeds that may interfere with your project. A great idea is to line a specific area with a plastic border to keep out unwanted grass and weeds. It is easier for roots to spread if you have broken up the dirt for them.
Tip: Mixing top soil or peat moss into your ground soil can help add much needed nutrients for a new garden.
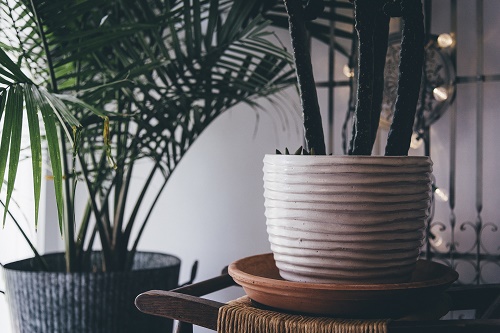
For potted plants, you will need to select an appropriate soil type and pot size to accommodate your vegetation of choice. Most plants can thrive in typical potting soil found at any home improvement store or nursery.
Step 6: Gently Sow Seeds
Seed packaging details are the various graphs and information laid out for the customer. It will tell exactly how deep to sow each seed. Some seeds need additional preparations. For instance, it is necessary to soak green bean seeds in water for at least 24 hours prior to planting.
Step 7: Thinning
Often more seeds may sprout than expected. This will create unnecessary competition between your crops, which will not allow any of them to flourish. The weakest sprouts are easy to spot. They are usually shorter with less foliage. The sprouting time of different plants vary, but the best time to do this is early in their life cycle when they are roughly 2 to 4 inches tall.
Step 8: Daily Maintenance
Check regularly on your plants to catch any problems before they become irreconcilable. A plant that is receiving too much light will begin to have scorched areas on its leaves. If possible, relocate this plant to a shadier area.
A lot can change in one day, especially with drastic weather conditions. A healthy garden needs constant awareness to spot any deficiencies they’re experiencing.
Tip: Bug infestations need remedied early so always be on the look-out for holes in the foliage.
Step 9: Improve Each Year
Your first time attempting a garden may not be as successful as you’d hoped. Learn from every mistake to improve and remember every success to repeat. Keep a journal of your gardening experience. Depending on how detailed, the journal can serve as a reminder of specific plant needs and memorable detriments.
A Thriving Garden
Gardening is not as simple as throwing a few seeds in the ground, then coming back a couple months later to harvest. There is hard work involved and long-standing methods to implement that can bear healthy plants. Making mistakes is vital to learning, but by following specific steps and researching your particular vegetation, glowing harvests and bright blooms are attainable.